Showing posts with label birthday. Show all posts

Friday, March 6, 2015

#yourewelcome

My sister's birthday was yesterday and I wanted to make her a card using two current stamping challenges. But in the end, it turned out to be a good masculine card so I'll save it for someone else.


My layout inspiration came from Mojo Monday #387 (MOJO387), and my palette came from Color Throwdown #332 (CTD332). The colors reminded me of the Fresh Prints DSP Stack from last year, which included Real Red, Coastal Cabana, and Crumb Cake. I threw in a little Night of Navy to finish it off.


I couldn't wait to use the fun new stamp set "Balloon Bash." How adorably snarky is the #yourewelcome?


Stampin' Dimensionals really take this card to the next level. I cut out both the banner and balloon and propped them up to create a little 3D interest. 


Stamps: Balloon Bash
Paper: Fresh Prints DSP Stack, Crumb Cake CS, Night of Navy CS, Whisper White CS
Colors: Real Red, Coastal Cabana, & Night of Navy Markers
Tools: Paper Snips, Project Life Corner Punch
Accessories: Neutrals Candy Dots, Linen Thread, Stampin' Dimensionals 

italics = retired product

Built for Free Using: My Stampin Blog

Saturday, November 16, 2013

Crushed Razzleberry Cake

Doesn't the title of this post sound like it would be yummy (if such a thing existed)? It's actually referring to the color combination that I got from the Pals Paper Arts color challenge #179 (PPA179). I also used the clean & simple sketch challenge #266 (FTL266) for the layout.


I already made one card with this color combo here, but I kind of like these colors together (plus I wanted to use up more Razzleberry Lemonade DSP). I think I like this one better!


I used Stampin' Dimensionals to make my flower "pop" off the card.


This happy birthday stamp is from the hostess set "Banner Greetings." You can only get this set if you host a party or workshop (or spend over $150 by yourself!). I think it is a must-have. Once I stamped the image, I cut it out with my Paper Snips.


I always forget that there are medium envelopes in Crumb Cake! I thought this one matched my card very well. I made the pretty liner with the Envelope Liner Framelits.


Purchase this card here!

Stamps: Mixed Bunch, Banner Greetings
Paper: Razzleberry Lemonade DSP, Crumb Cake CS, Crushed Curry CS, Whisper White CS
Colors: Crushed Curry Ink, Rich Razzleberry Ink
Tools: 3/4" Circle Punch, Blossom Punch, Paper Snips, Big Shot, Envelope Liner Framelits
Accessories: Rich Razzleberry 1/4" Stitched Grosgrain Ribbon, Stampin' Dimensionals, Glue Dots

italics = retired product

Tuesday, November 12, 2013

New Product and Weekly Deals

Look at the beautiful new Festive Flurry Ornament Kit that Stampin' Up! just released!

http://www.stampinup.com/ECWeb/ProductDetails.aspx?productID=135813

All you need is a hot glue gun - the kit includes the pre-printed and scored cardstock to make ten ornaments. It also includes the ribbon and rhinestones for the finishing touch! I plan to use them as decorations for a friend's baby's birthday party in December. It's her first birthday, and the theme of the party is "Winter One-derland." How cute (and appropriate!).

Stampin' Up! even made a video to show how to make these beauties. Last year's ornament kit sold out in less than a week, so get it while supplies last!


Also, check out the new Weekly Deals!

http://www.stampinup.com/ECWeb/ItemList.aspx?categoryid=1634


Sweater Weather

Challenge #171 at the Paper Players is a color challenge. It just so happens that all three of these colors are in the Sweater Weather Designer Series Paper in the Holiday Catalog. So that helped narrow things down!


I also used the Mojo Monday #319 (MOJO319) layout, and I am submitting this card to the SUO Challenge #83 - a Favorite Sentiment. I just love this Happy Birthday stamp!


I don't have the Circle Framelits yet, so I had to break out the retired Circle Scissor Plus to make my two bigger circles. I haven't used it in a really long time - it's pretty easy actually!


I love this trick. To make perfect flagged ends (that are always matching if you have more than one), just insert the end of the paper a tiny bit into the Hexagon Punch, and punch!


I lined the envelope with the same pattern of DSP as the little tangerine flag.


Here is another trick that I used today. Because I only have a couple 6x6-inch squares of this DSP (I didn't buy the whole pack; I got it as part of a paper share), I wanted to maximize my usage of it. So I cut two smaller pieces, rather than one long, large piece to be my background layer. (I know, I should have flipped one of them the other way. But in the pic of the whole card, it's hardly noticeable!)


Stamps: Birthday Wish 
Paper: Sweater Weather DSP, Tangerine Tango CS, Chocolate Chip CS, Crushed Curry Textured CS (but could use the current Core'dinations paper to achieve the same look), Very Vanilla CS
Colors: Tangerine Tango Ink
Tools: 1-3/4" Circle Punch, Circle Scissor Plus, Big Shot, Envelope Liners Framelits, Hexagon Punch (to make flagged ends)
Accessories: Stampin' Dimensionals 

italics = retired product

Monday, November 11, 2013

Dog Talk for "Clean & Simple"

The inspiration for this card began with Around the World Challenge #4 (AW04). Then, I decided it applied to the Simon Wednesday Challenge (keep it clean and simple) for this week too! I'm also entering this card into the Loves Rubber Stamps Blog Challenge #77 (LRSBC77) - the challenge is anything goes. The color scheme began with the color challenge at Stylin' Stampin' INKspiration (Cajun Craze, Baked Brown Sugar, Crisp Cantaloupe) - but I just could NOT make it work. That Crisp Cantaloupe just didn't belong in there! So I left it out. :)


I got this stamp set earlier this year and hadn't inked it up yet - so I was excited to give it a go! Not only is the set a really cute concept, I love dogs and buy pretty much any stamp set that has a dog in it. Some day, I'll do a post on my little mini scrapbook dedicated to my dog Pearl. There are some old blog posts about her here and here. She's my fur child! :)

http://www.stampinup.com/ECWeb/ProductDetails.aspx?productID=132569

Ok, ok. On to the card! Even though I did not use the flash, the coloring looks a little different in each pic. I guess Cajun Craze is not that photogenic! I used Staz-On ink so I could watercolor the dog using Blender Pens and the ink pads. (With the ink pad closed, squeeze down on the middle of it - this creates a small "pool" of ink on the lid of the pad that you can dip your blender pen into.)


This simple color scheme seemed like it would work well for a man - so I left off the ribbon along the bottom. I made the envelope liner from the Cajun Craze paper in the Regals DSP Stack.


Stamps: Animal Talk
Paper: Baked Brown Sugar DSP, Cajun Craze DSP, Baked Brown Sugar CS, Cajun Craze CS, Whisper White CS
Colors: Staz-On Jet Black Ink, Baked Brown Sugar Ink Pad, Cajun Craze Ink Pad
Tools: Blender Pens, Stamp-a-ma-jig (for sentiment), Envelope Liners Framelits, Big Shot
Accessories: Stampin' Dimensionals

Friday, November 8, 2013

Two Posts in One Day!

Wow - I'm on a roll! I made two different cards last night, using a combination of FIVE different challenges! Woohoo! Here is the second of the two. This one uses clean & simple #264 (FTL264 - layout) and Pals Paper Arts #178 (PPA178 - color). I'm also entering this card into the latest Penny Black Challenge - Anything Goes.


I tried to be a color "purist," but the Early Espresso was just too harsh for my card so I changed it to Soft Suede.


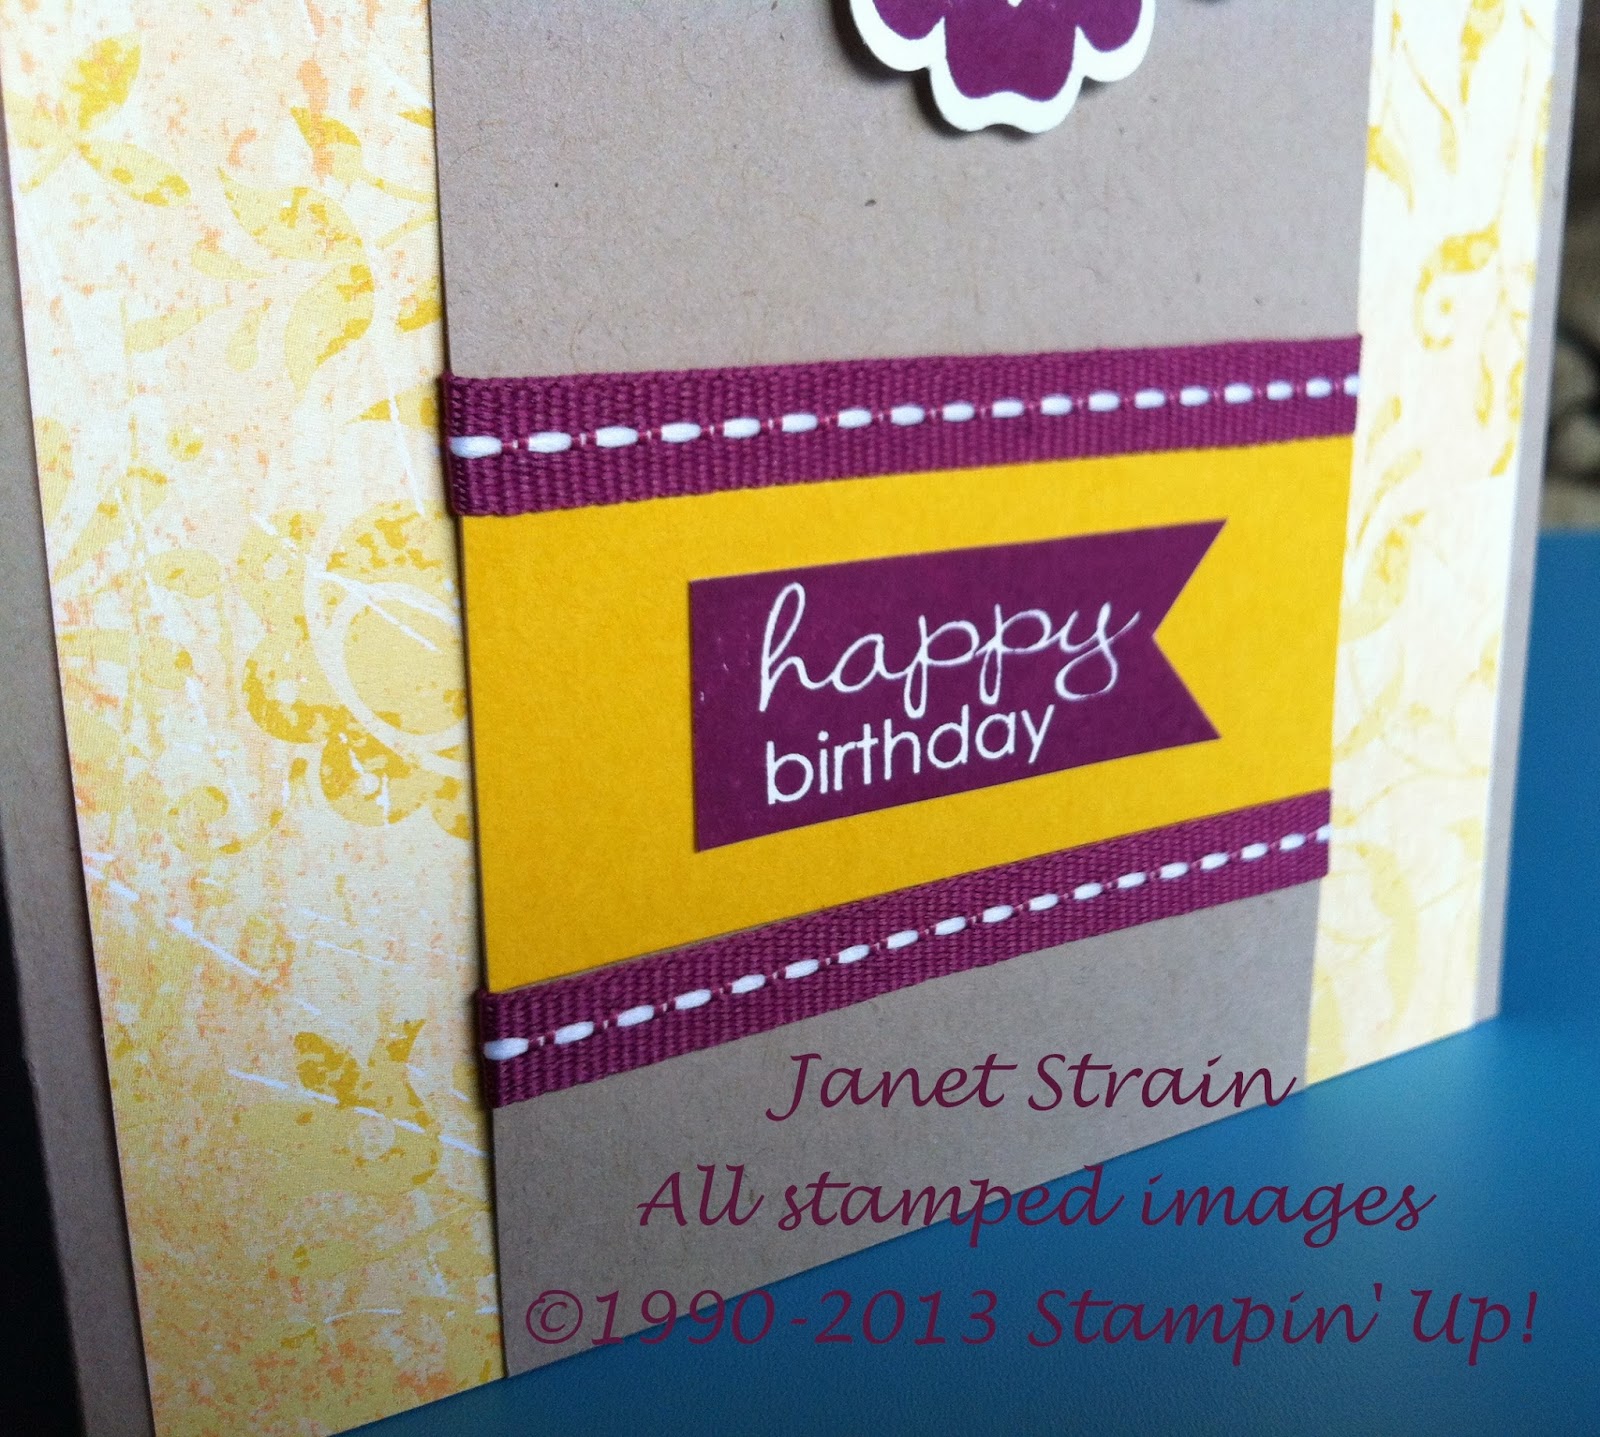
The sentiment looks a little washed out in the first pic, so here is a close-up. I used my markers to color in the words, cake, and candles. Doesn't it look like a decadent chocolate cake? Yum! My Stamp-a-ma-jig was essential to line up all the images.


The In Color 3/8" Stitched Satin Ribbon is a little too thick (in my opinion) to make a full-on bow. In any case, there wasn't enough room on this card for a full bow. So I like to just attach a strip of ribbon to my card, then take a second little piece and knot it around the strip that's already attached. The card is complete after a couple of snips with the Stampin' Up! Craft Scissors (seriously - they cut ribbon like butter; I bought them after using them just one time).


I never forget to make a coordinating envelope! In this case, I didn't have a big enough piece of coordinating DSP to make an entire envelope using the Envelope Punch Board. Enter: Envelope Liners Framelit dies! You get three different dies - one to fit our Medium envelopes, one to fit the envelopes that come with our notecards, and one to fit the tiny 3-1/8" square envelopes. So for this card, I jazzed up the Whisper White envelope with a different pattern of the Soft Suede DSP


Stamps: Patterned Party, Whimsical Words 
Paper: Birthday Basics DSP, Soft Suede from Neutrals DSP Stack, Summer Starfruit CS, Whisper White CS
Colors: Summer Starfruit Marker, Crisp Cantaloupe Marker, Soft Suede Marker
Tools: Envelope Punch Board (to round my corners), Big Shot, Envelope Liners Framelits, Stamp-a-ma-jig
Accessories: Summer Starfruit 3/8" Stitched Satin Ribbon, Stampin' Dimensionals, Glue Dots (I like these for adhering ribbon ends to the back of my paper)

italics = retired product

Thursday, November 7, 2013

Autumn Wreath & Cards (& Sale!)

Stampin' Up! is continuing their Weekly Deals! Every Tuesday, look for new items on sale! Here are this week's items:

http://www.stampinup.com/ECWeb/ItemList.aspx?categoryid=1634

My favorite of these items is the Autumn Accents Bigz Die. This is a MUST-HAVE. Check out this awesome wreath I made using this die with Stampin' Up! cardstock and Designer Series Paper. I'm entering my wreath into the current Crafty Creations Challenge - Autumn Colours, and the Crafting for All Seasons Challenge #64 - also Autumn Colours.


Doesn't it look so nice against the natural wood of my current apartment door? :)


I got a styrofoam wreath from Michael's and just used straight pins to attach all the leaves. I made sure to first kind of wrap them around to coat the wreath itself, so the green styrofoam wouldn't show through. Then I just continued adding leaves until I was happy with the look! I wish I had kept track of how many leaves it took, but I did not. My guess is... maybe 150?


Here are some cards that also use the Autumn Accents Bigz Die. This first one uses the Adorning Accents Embossing Folder, which is also on sale.